Note: This guide requires you to modify the registry. Please be extremely careful to follow all instructions correctly, as improper edits to the registry may cause serious issues to a system.
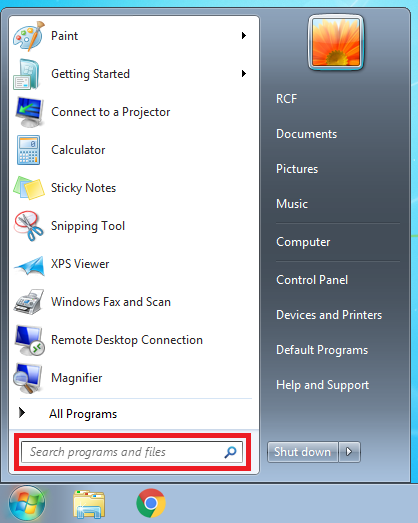
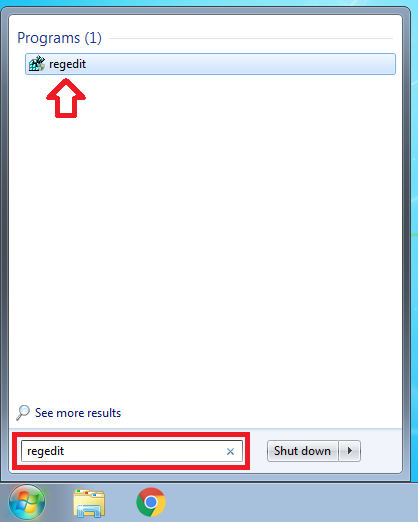
Run the regedit command. You may do this by opening the Start Menu and typing "regedit" into the search bar. Select the option labeled "regedit" from the results list.
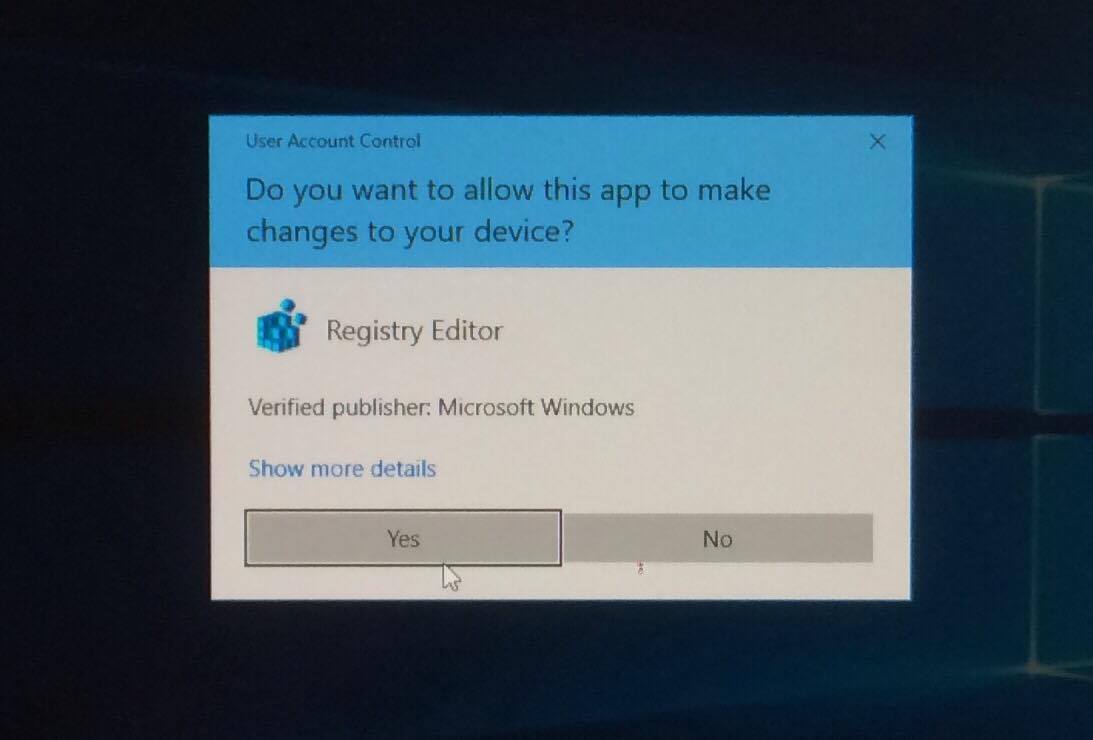
Accept any prompts asking to allow the Registry Editor to make changes to your device.


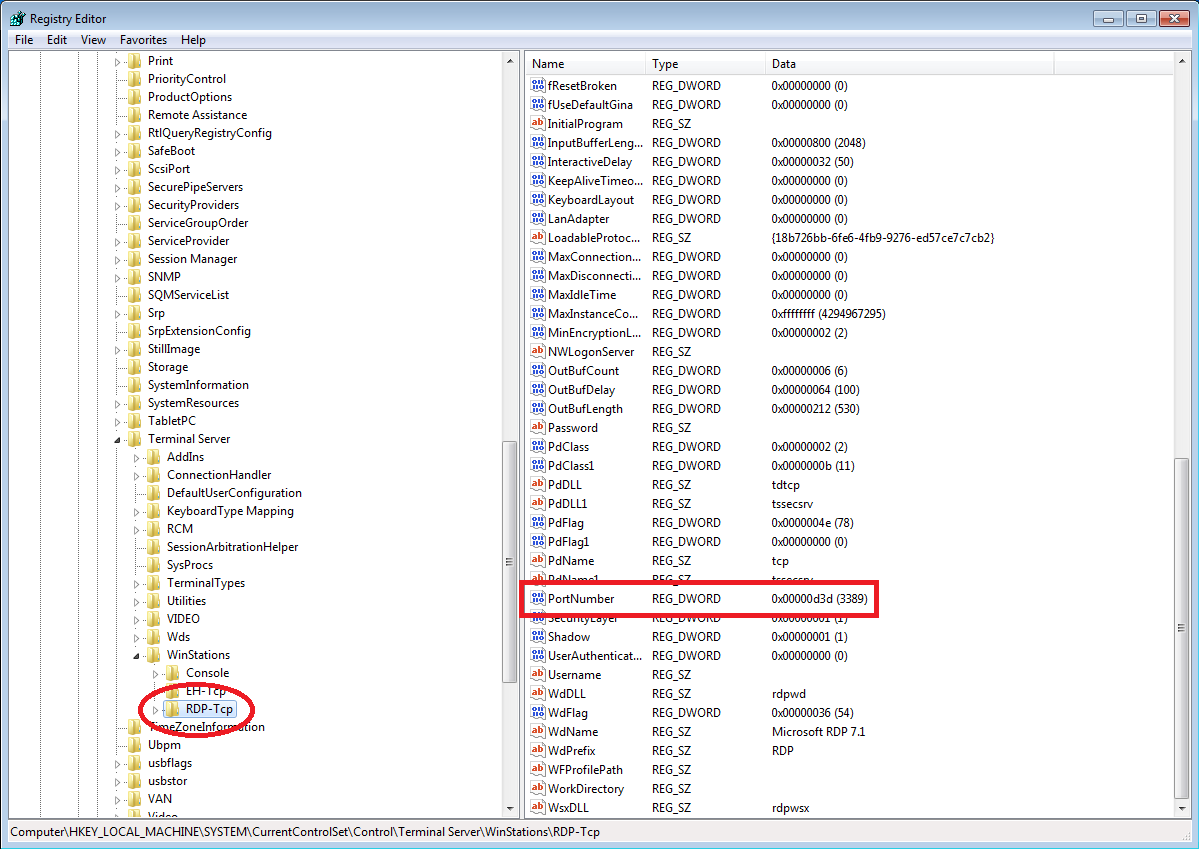
The Registry Editor will now open on your computer. Navigate to the folder where the port number is stored by opening the folders on the left menu according to the following path:
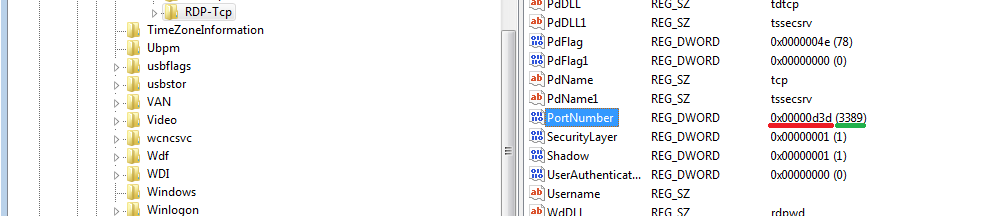
Computer\HKEY_LOCAL_MACHINE\SYSTEM\CurrentControlSet\Control\Terminal Server\WinStations\RDP-Tcp
Once in the folder, locate the field named "PortNumber".
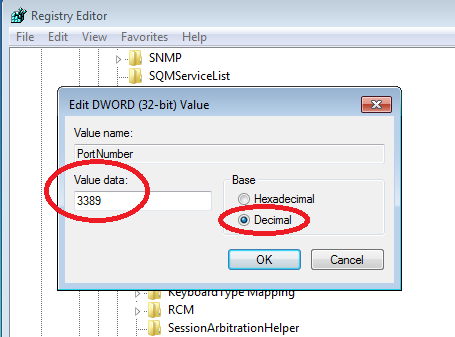
Right-click on the word "PortNumber" and select "Modify" from the menu that appears.

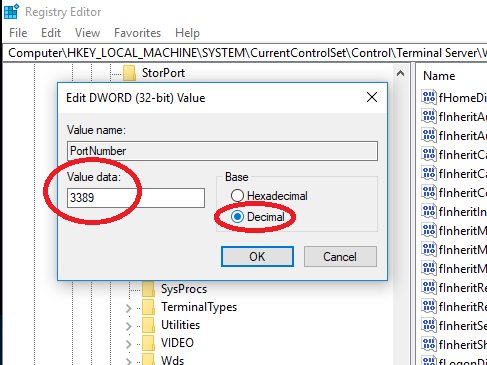
Select the radio button labeled "Decimal" to view the port number value in the decimal number system. Change the value in the "Value data:" bar to the new port number you will use for Remote Desktop.
(Note: Port numbers range from 0 to 65535, though many ports between 0 and 999 are reserved for well-known services. Before changing your port number, check online that the port number you will be using is not reserved.)
Click "OK" when finished.
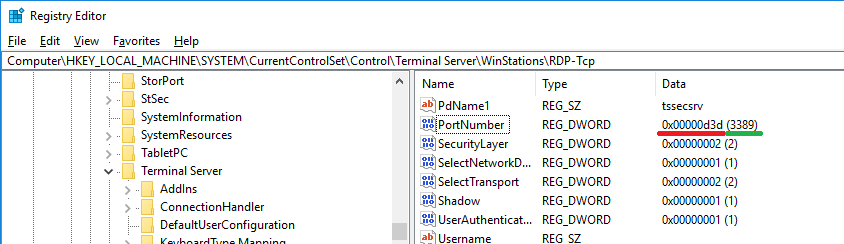
The new port number should be visible in the "Data" section of the PortNumber field, written in the hexidecimal numbering system followed by the decimal number system equivalent in parenthesis. In the image below, the hexidecimal value is underlined in red, while the decimal value is underlined in green. Check that the decimal value is the port number you desired.
Quit the Registry Editor by clicking the red 'X' in the top right corner of the window. Restart your computer to solidify the changes.
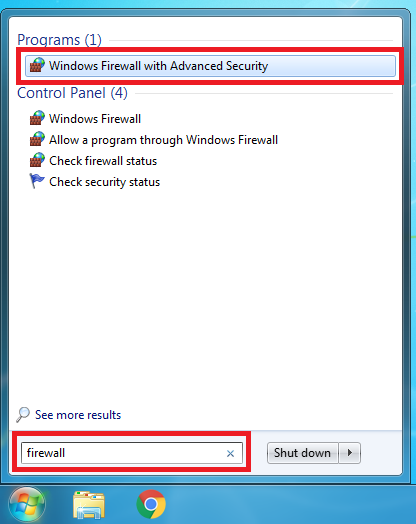
Open the Windows Firewall application with advanced security. You may do this by opening the Start Menu and typing "firewall" into the search bar. Select the option labeled "Windows Firewall with Advanced Security" from the results list.
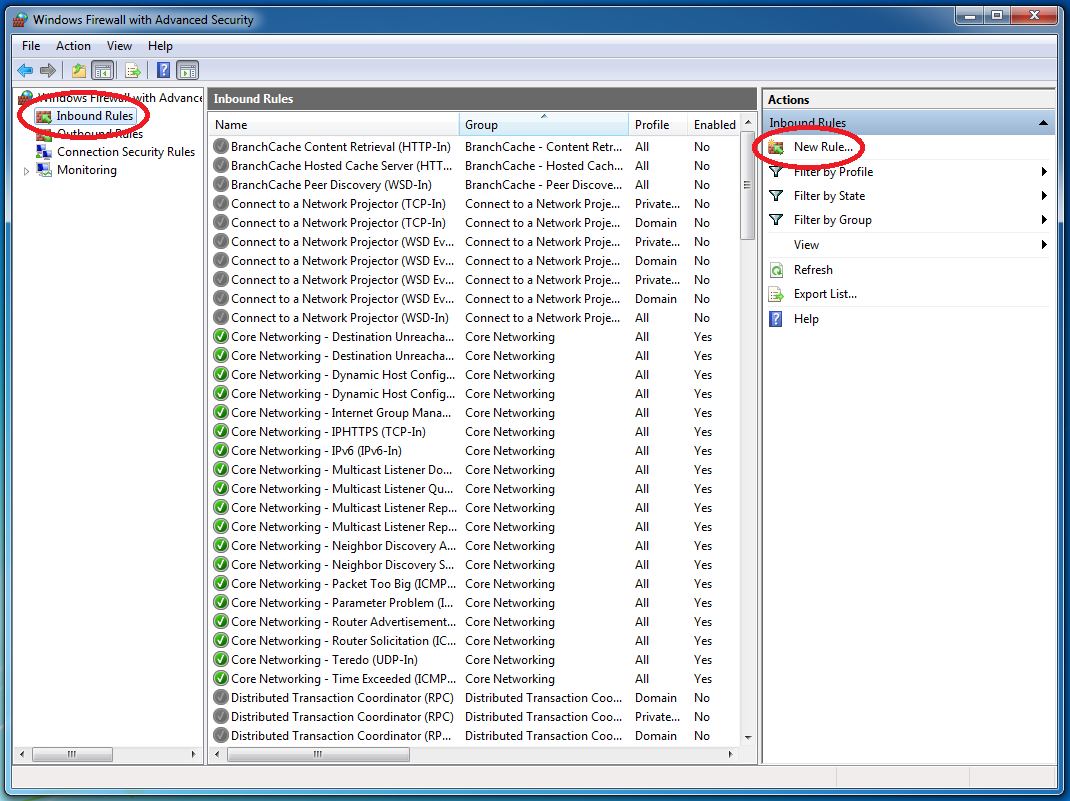
After the Windows Firewall with Advanced Security window opens, select "Inbound Rules" from the left menu, then choose "New Rule..." from the right menu.
In the Rule Wizard that appears, choose to create a "Port" rule before hitting "Next >".

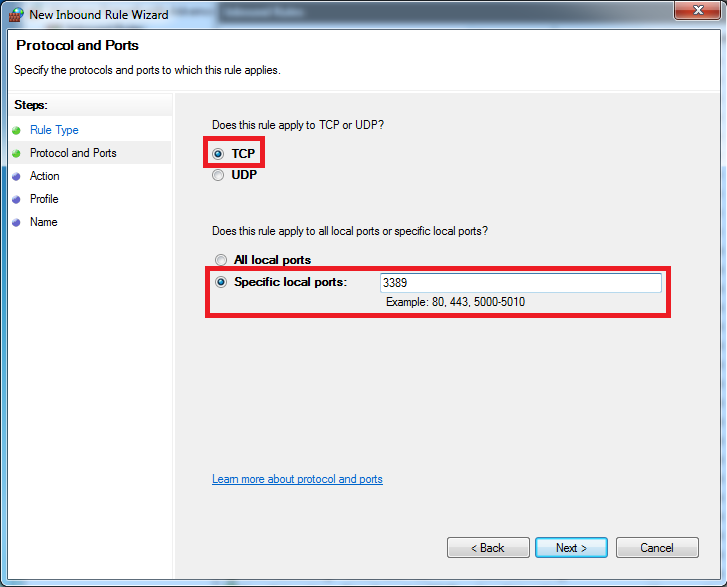
On the next screen, choose "TCP" from the list of protocols. Select "Specific local ports:" and input the new port number that you entered in Step 3.
Hit "Next >" to continue to the next screen.
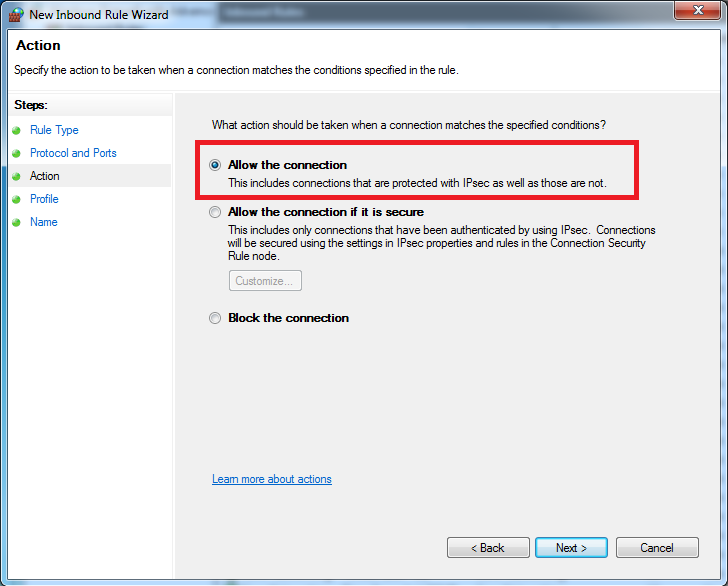
Select "Allow the connection" from the list and hit "Next >".
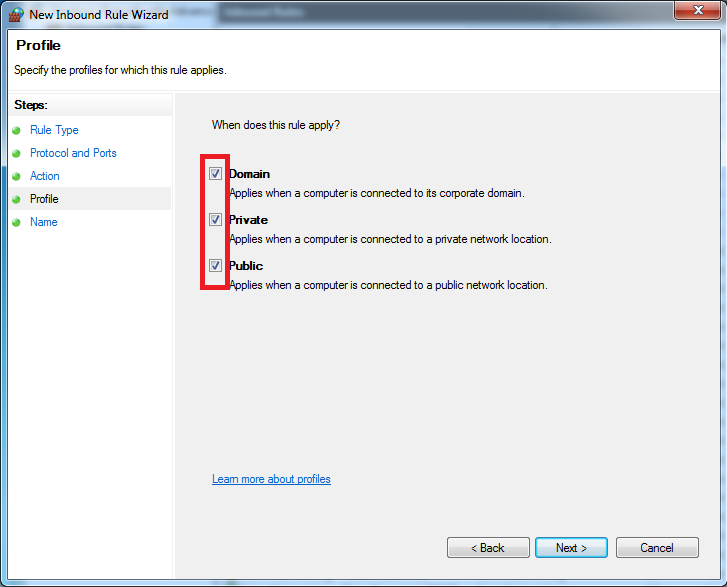
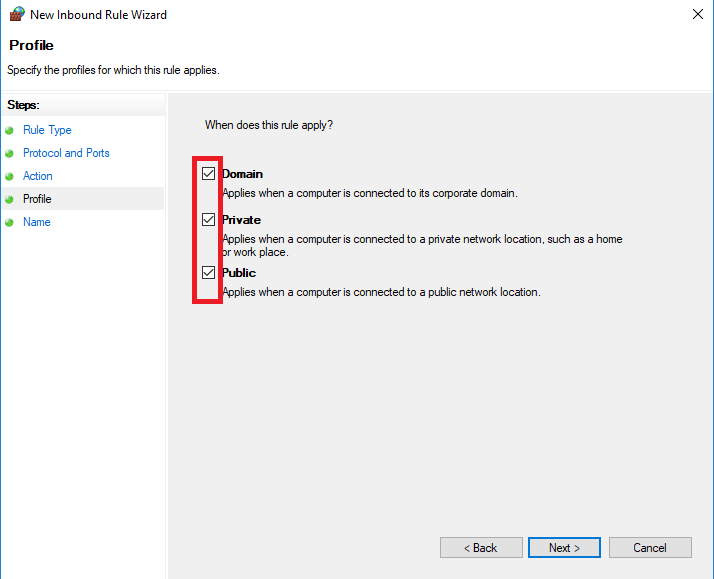
Apply this rule to all options by checking off all boxes ("Domain", "Private", and "Public") and hitting "Next >".
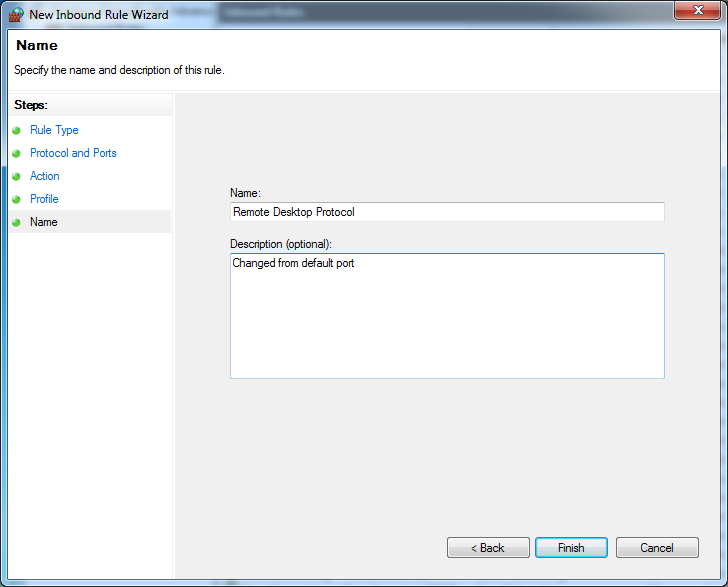
Name your rule with an informative title before hitting "Finish".
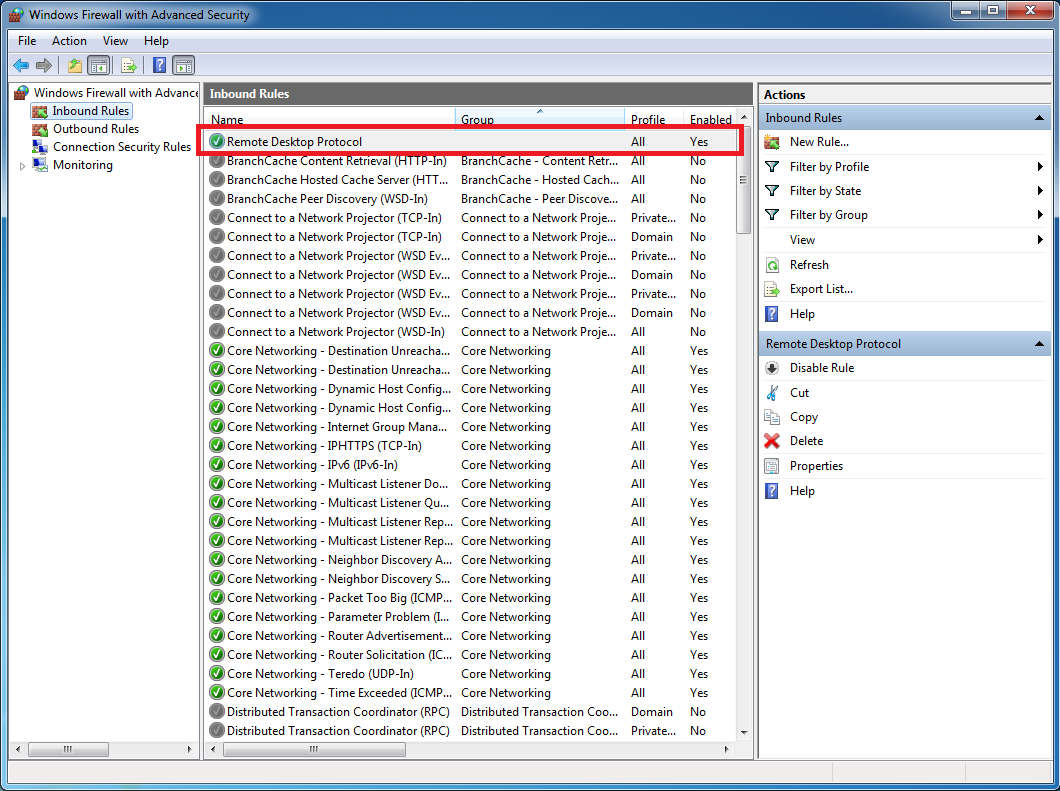
Your new rule should appear at the top of the list with the name you assigned it.
Run Remote Desktop Connection. You may do this by opening the Start Menu and typing "remote desktop" into the search bar. Select the option labeled "Remote Desktop Connection" from the results list.

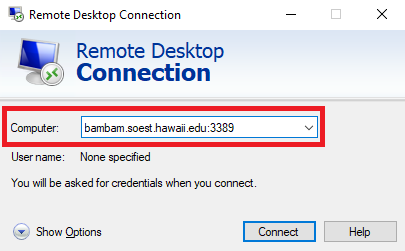
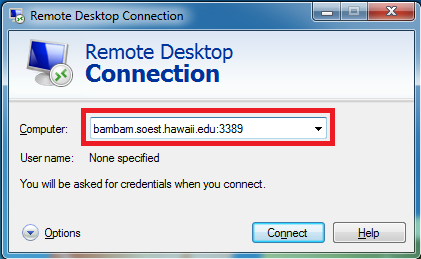
In the window that appears, enter the full hostname of the system being accessed, followed by a colon (:) and the new port number that you entered in Step 3. Hit "Connect" to finish.
(Note: Do not include spaces. A full hostname includes the domain names, ex: hostname.domain.domain.domain )
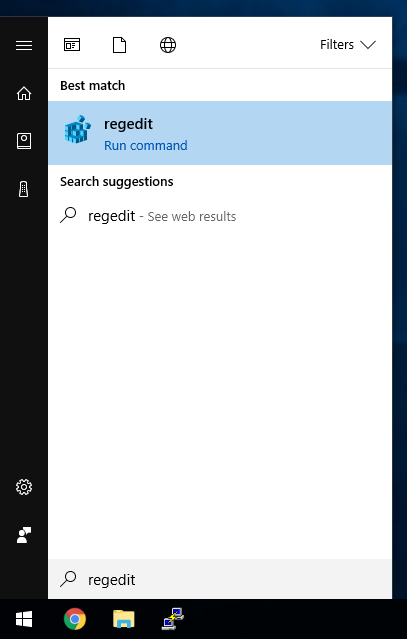
Run the regedit command. You may do this by opening the Start Menu and typing "regedit" into the search bar. Select the option labeled "regedit" with the words "Run command" below it.
(Note: The search bar in Windows 10 is not visible when the menu is first opened. To access the search bar, just start typing with the Start Menu open.)
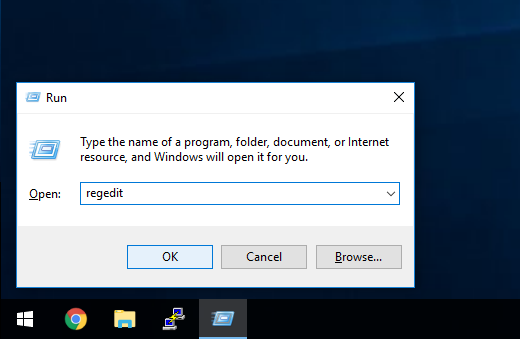
Alternatively, press the Windows Key + R. This will open the Run dialog box. Type "regedit" into the input bar labeled "Open:" and press "OK".
Accept any prompts asking to allow the Registry Editor to make changes to your device.
The Registry Editor will now open on your computer. Navigate to the folder where the port number is stored by entering the the following path in the navigation bar at the top of the window:
Computer\HKEY_LOCAL_MACHINE\SYSTEM\CurrentControlSet\Control\Terminal Server\WinStations\RDP-Tcp
Once in the folder, locate the field named "PortNumber".

Right-click on the word "PortNumber" and select "Modify" from the menu that appears.

Select the radio button labeled "Decimal" to view the port number value in the decimal number system. Change the value in the "Value data:" bar to the new port number you will use for Remote Desktop.
(Note: Port numbers range from 0 to 65535, though many ports between 0 and 999 are reserved for well-known services. Before changing your port number, check online that the port number you are changing it to is not a reserved port.)
Click "OK" when finished.
The new port number should be visible in the "Data" section of the PortNumber field, written in the hexidecimal numbering system followed by the decimal number system equivalent in parenthesis. In the image below, the hexidecimal value is underlined in red, while the decimal value is underlined in green. Check that the decimal value is the port number you desired.
Quit the Registry Editor by clicking the red 'X' in the top right corner of the window. Restart your computer to solidify the changes.
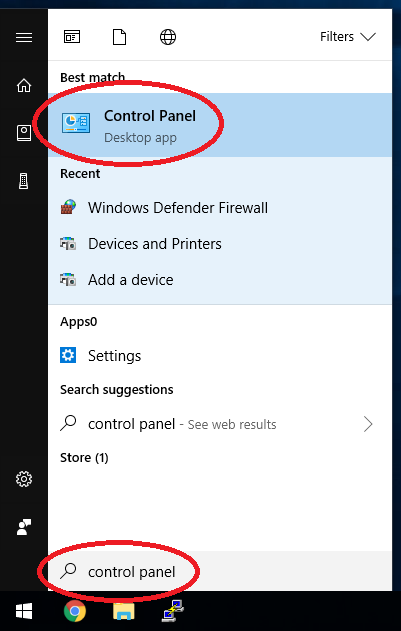
Open the Control Panel. You may do this by opening the Start Menu and typing "control panel" into the search bar. Select the option labeled "Control Panel" with the words "Desktop app" below it.
(Note: The search bar in Windows 10 is not visible when the menu is first opened. To access the search bar, just start typing with the Start Menu open.)
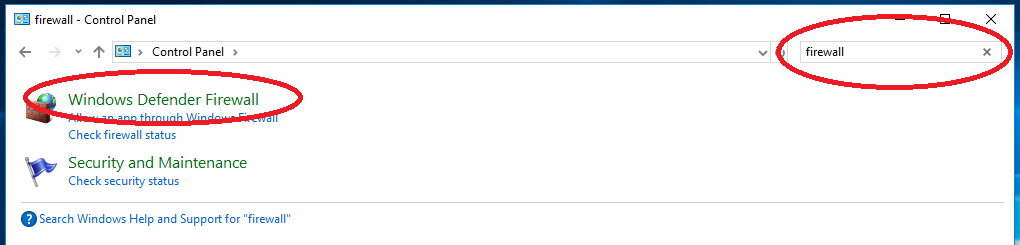
When the Control Panel has opened, locate the search bar in the top right corner and enter "firewall".

Select "Windows Defender Firewall" from the search results.
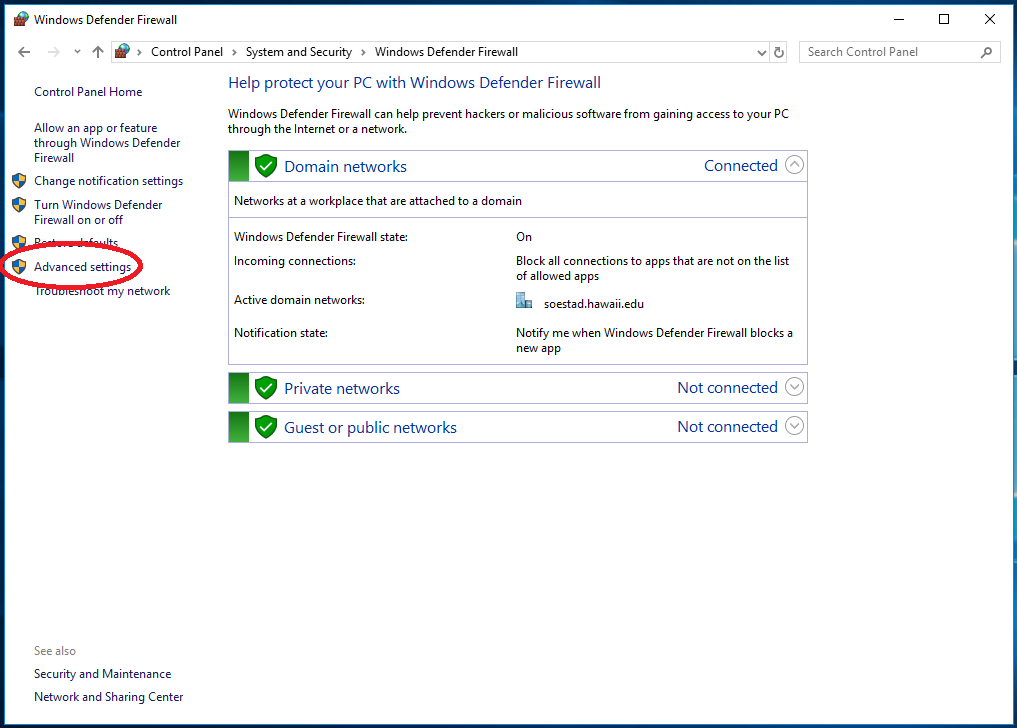
Select "Advanced settings" from the side menu.
In the pop-up window, select "Inbound Rules" from the left menu, then choose "New Rule..." from the right menu.

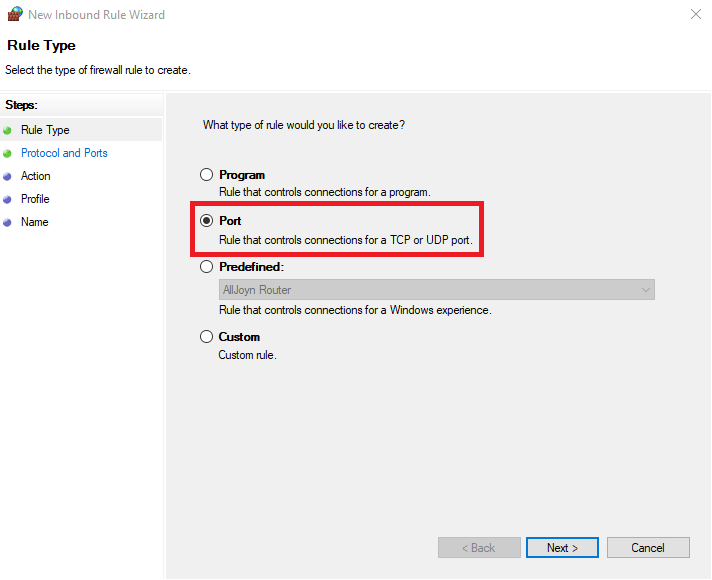
In the Rule Wizard that appears, choose to create a "Port" rule before hitting "Next >".
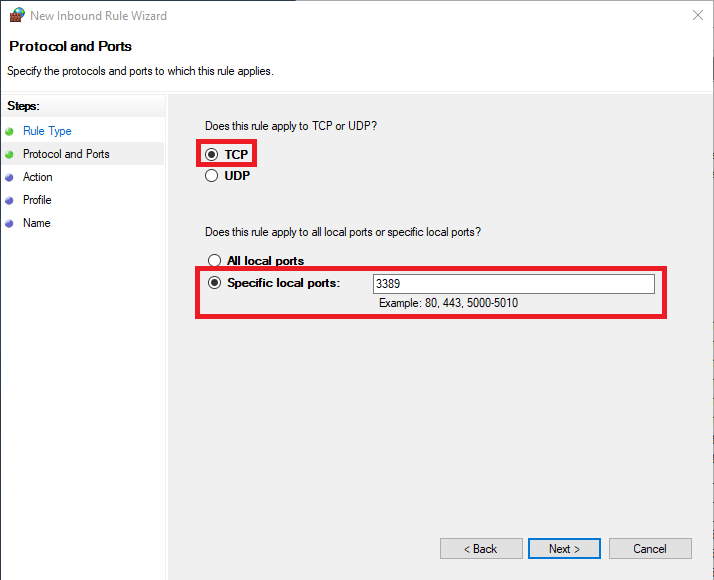
On the next screen, choose "TCP" from the list of protocols. Select "Specific local ports:" and input the new port number that you entered in Step 3.
Hit "Next >" to continue to the next screen.
Select "Allow the connection" from the list and hit "Next >".

Apply this rule to all options by checking off all boxes ("Domain", "Private", and "Public") and hitting "Next >".
Name your rule with an informative title before hitting "Finish".

Your new rule should appear at the top of the list with the name you assigned it.

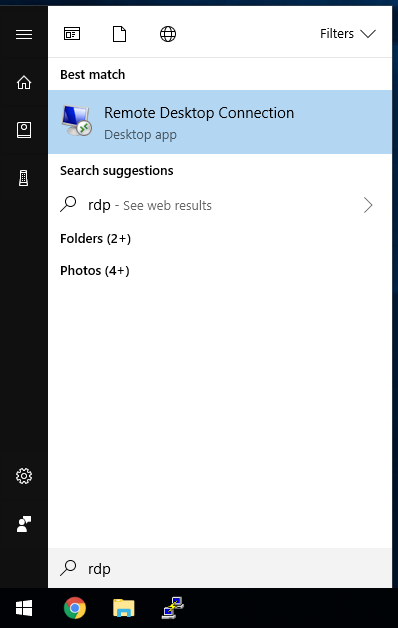
Run Remote Desktop Connection. You may do this by opening the Start Menu and typing "rdp" into the search bar. Select the option labeled "Remote Desktop Connection" with the words "Desktop app" below it.
(Note: The search bar in Windows 10 is not visible when the menu is first opened. To access the search bar, just start typing with the Start Menu open.)
In the window that appears, enter the full hostname of the system being accessed, followed by a colon (:) and the new port number that you entered in Step 3. Hit "Connect" to finish.
(Note: Do not include spaces. A full hostname includes the domain names, ex: hostname.domain.domain.domain )